Get started with Homotope in 5 minutes
Updated on
To get started with Homotope, drop an image (PNG, JPG or WebP) into the workshop or click one of the four examples, pick the preset that matches it, adjust the palette, then export: everything runs in your browser, with no account and without uploading the image.
The five steps
- Drop an image or pick an example. Open the workshop and drop your image, paste it or choose it. The empty workshop also offers four one-click examples: a logo, a colour illustration, a line drawing and a pixel art sprite, each with its preset. It starts computing straight away, in your browser.
- Pick the preset. Logo for flat colours with sharp edges, Illustration for a colour drawing, Pixel art to keep pixels square, Line art for the outlines of a drawing, Single stroke for a centreline trace (plotter, laser, embroidery), Black and white for a silhouette or a stencil, Photo / Poster for a posterised photo. It recalculates by itself.
- Adjust the palette. Set the number of colours, merge two similar shades, lock a colour or apply your own from the swatch library. Transparent background and recolouring are free to try in the workshop.
- Export. Download the SVG or an enlarged PNG, or pick PDF, EPS or DXF for the printer or the machine. Separations give you one file per colour.
- Check, save. “Ready for cutting?” checks the paths before they reach the machine. With an account, save the result to your gallery; for a very large image, the workshop offers to compute it on the server, never without your consent.
The four examples of the empty workshop, as the workshop renders them with their preset: the example image on the left, the engine’s SVG on the right, untouched.
 Example image · PNG
 Engine SVG
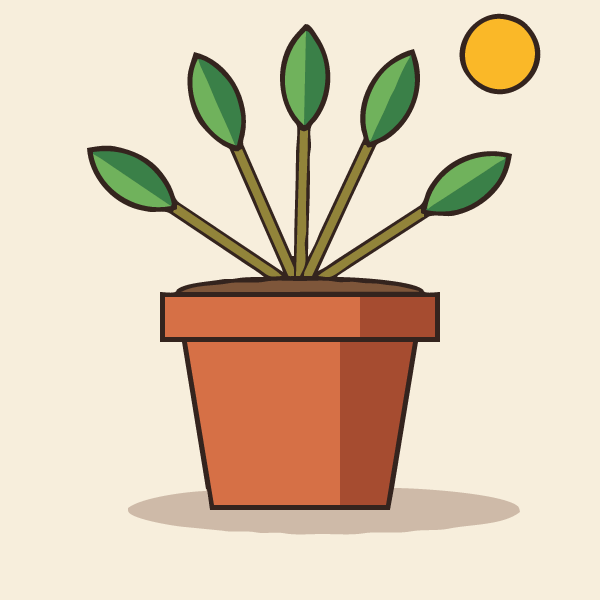 Example image · PNG
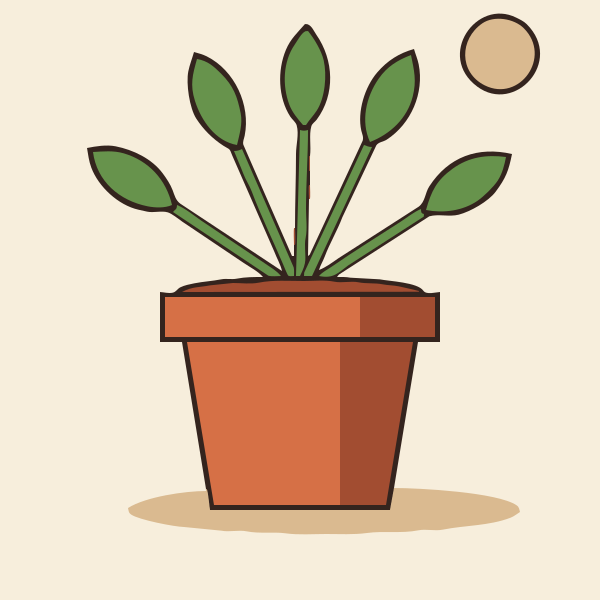 Engine SVG
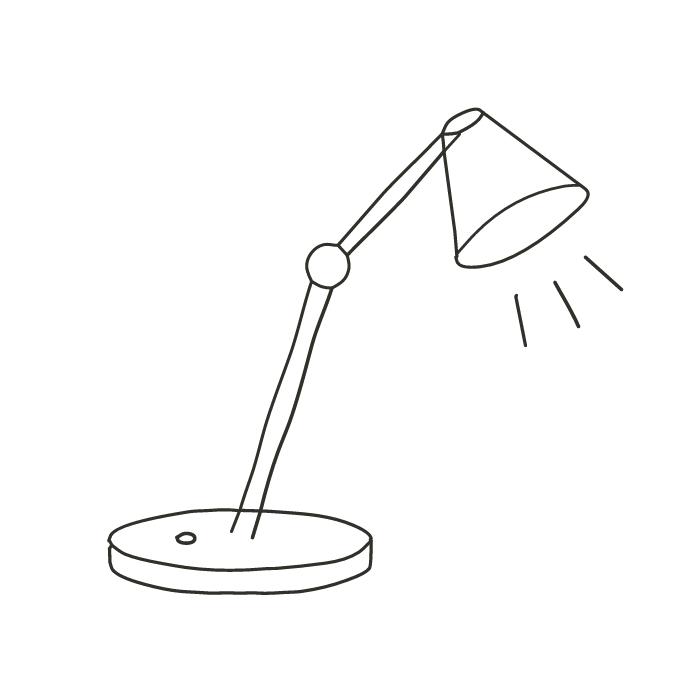 Example image · PNG
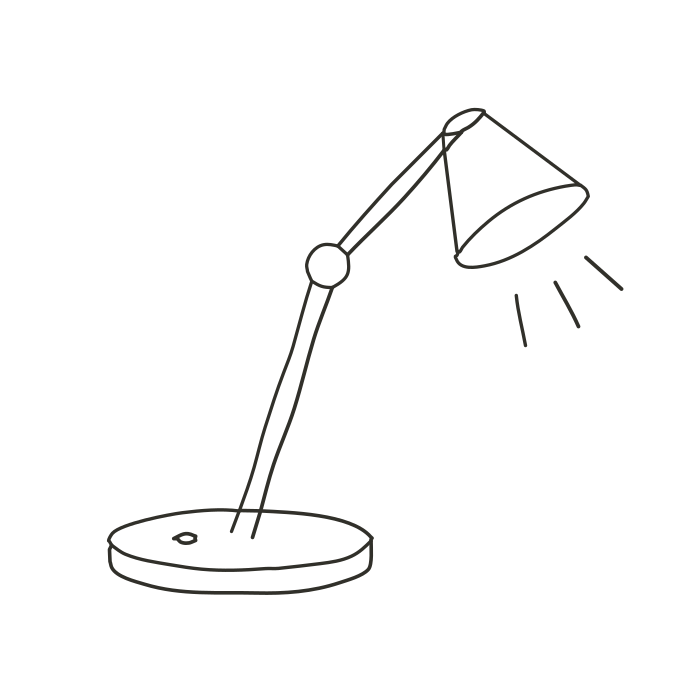 Engine SVG
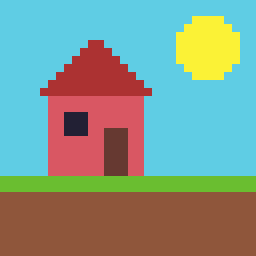 Example image · PNG
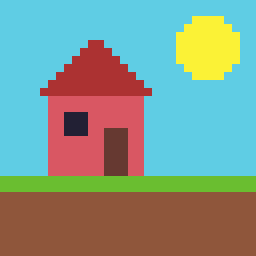 Engine SVG
Video walkthroughs
Five demonstrations of the workshop, 30 to 40 seconds long, subtitled and silent: they only start when you play them.
A clean logo from a JPEG
A blurry JPEG logo full of compression artefacts becomes a crisp SVG with the Logo preset, in the browser, without an account.
Transcript (0:37)
A logo sent as a JPEG: blurry, full of artefacts. Drop it into the workshop.
It is computed right here, in your browser: the image is not sent anywhere.
The Logo preset: clean flat colours, round circles, sharp corners.
Zoom in: the edges stay sharp at any size.
The palette counts the colours; a stray shade can be merged in one click.
Download the SVG: free, no account needed. PDF and EPS are in the same menu.
A colour illustration, its palette and a transparent background
The Illustration example: preset, palette, transparent background and recolouring (free preview, download with Pro).
Transcript (0:39)
A colour illustration: one click on the example, Illustration preset included.
Drag the slider: the original on one side, the SVG on the other.
The palette lists every colour and its share of the image.
Transparent background: one click on the checkerboard of the background colour.
Recolour a shade: the colour changes, the shapes do not move.
The preview is free; downloading with a transparent background or recolouring needs Pro.
A line drawing for a plotter or engraver (Single stroke)
The Single stroke preset traces the centre of every stroke: one tool pass for a pen plotter, laser engraving or embroidery.
Transcript (0:37)
A line drawing for a plotter, a laser or an embroidery machine: the Line drawing example.
Single stroke traces the CENTRE of each stroke: one path, travelled once.
The Outlines view shows it: a single line per stroke, no filled shape.
To keep both edges of every stroke, choose Line art instead.
Go back to Single stroke for the plotter or the engraver.
The drawing exports as SVG or DXF, as a fabrication export.
A DXF cut file and “Ready for cutting?”
DXF export, then the cut check: tool diameter in millimetres, flagged issues, Ignore or Fix, without touching the result.
Transcript (0:34)
For laser, vinyl or plasma cutting, start from the logo: Logo preset.
Choose DXF: one layer per colour, closed outlines.
Open “Ready for cutting?” and enter your tool diameter, in millimetres.
The workshop flags what will trouble the machine: details too thin, small islands, open outlines.
Ignore: you accept it. Fix: the workshop reworks it, your result stays untouched.
Then download the DXF for the machine.
Save to the gallery, compute on the server
With an account, a result is saved to the gallery; a very large image is offered server processing, never started without your consent.
Transcript (0:37)
Signed in, keep your results: one click on “Save to my account”.
Your gallery has it, on all your devices.
A very large image? The workshop still processes it here, at full resolution: it takes longer.
It also offers to process it on the server, useful if the device struggles: never without your consent.
The note says what it will use up; nothing is sent until you click.
By use
A clean logo from a JPEG
Drop the JPEG you received and keep the Logo preset: compression artefacts disappear, circles stay round and corners stay sharp. Check the number of colours in the palette; merge a stray shade in one click. Download the SVG, or the PDF and EPS for the printer.
Read next:
- Vectorize a logo: from PNG or JPG to a vector file
- How do I vectorize a blurry, low-resolution logo?
- How do I enlarge a logo for large-format printing without losing quality?
A colour illustration
Pick Illustration, then set the number of colours: fewer colours, simpler flat areas; more colours, more shades. Lock the colours that matter, and apply your own palette from the swatch library when you need exact shades.
Read next:
A line drawing for a plotter, engraving or embroidery
The Single stroke preset traces the centre of each line: one path, drawn once, for a pen plotter, laser engraving or running-stitch embroidery. To keep the outlines of a drawing (two edges per line), pick Line art instead. A Single stroke trace downloads as a production export.
Read next:
- How do I get a single-line (centreline) file for embroidery or a pen plotter?
- How do I turn a photo of a pencil sketch into an SVG?
- Embroidery: prepare an image before digitizing
Cutting: DXF and the cut check
Pick DXF in the export: R12, one layer per colour, closed contours. Before sending the file, open “Ready for cutting?”: set your beam or blade width, and the workshop flags open contours, double cuts, overlaps, details that are too thin and small islands, and offers a separate simplified DXF without touching your result.
Read next:
- Convert an image to DXF for cutting
- Prepare a JPG for laser cutting and engraving
- Turn an image into an SVG for Cricut, step by step
- How do I convert an image to DXF for laser cutting?
Printing: separations
For screen printing or spot colours, apply the palette of your inks (no colour is invented), then download the separations: one file per colour, knocked out, in a ZIP archive. For large formats, the SVG or the PDF scales up without loss.
Read next: