Turn an image into an SVG for Cricut, step by step
Updated on
To get an SVG for Cricut, drop your image into the Homotope workshop, choose the Logo or Line art preset, download the SVG (or the DXF checked by the cut-readiness check) and import it into Design Space.
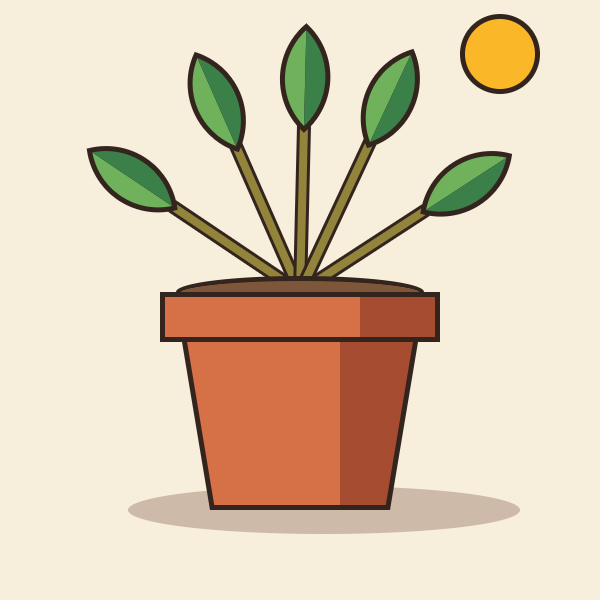 PNG · 600 × 600 px
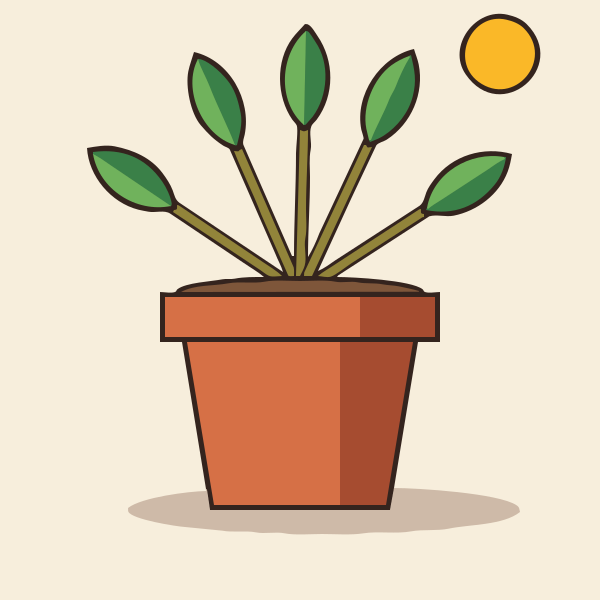 Engine SVG
Steps
The workshop interface is in French; the button names are quoted below in French with their meaning.
- Open the workshop and drop your PNG, JPG or WebP (or paste it).
- Pick a preset: Logo for flat shapes, Dessin au trait (line art) for lettering, Pixel art for crisp pixels.
- Reduce the number of colours to your vinyls (Couleurs panel), or force your colours with the fixed palette.
- In Export, keep « Découpé » (cut) mode. On a computer, choose the DXF format and open « Prêt pour la découpe ? » (ready to cut?): the check applies to that DXF.
- Download the DXF, or the SVG (the layered SVG with « Une couche par couleur », one layer per colour) if you use Design Space on a phone or tablet.
- In Design Space, import the file and resize it to the size you want.
Homotope traces in your browser: the engine runs on your own machine, in a Web Worker, and your image is sent nowhere unless you save it to your account or ask for a server computation. The workshop opens without an account and without a usage limit: tracing, preview, SVG and PNG exports are free. Fabrication exports (DXF, EPS, PDF, separations): 2 free per month with an account, unlimited with Pro; the conversion stays in your browser.
Tips for a clean cut
- Start from the largest image you have: the engine works at full resolution.
- Tiny islands (dots, specks) are a pain to weed: the check flags them under 1 mm² by default.
- One flat shape per vinyl colour: merging by colour groups every shape of a colour in a single path.
Before sending the file to the machine, the « Prêt pour la découpe ? » (“ready to cut?”) section of the Export panel analyses the DXF you would download: open contours, overlaps, self-intersections and double cuts (blocking), details finer than your tool diameter, tiny islands and overloaded contours (to check). Clicking a problem highlights it on the preview. « Simplifier pour la découpe » (“simplify for cutting”) writes a separate DXF and leaves your result untouched.
Frequently asked questions
How do I turn a PNG into an SVG for Cricut for free?
In the Homotope workshop, free and with no account: drop the PNG, pick a preset, download the SVG, then import it into Design Space.
Is my image uploaded anywhere?
No. Tracing happens in your browser; the image only leaves your machine if you save it to your account.
SVG or DXF for Design Space?
Homotope exports both. To our knowledge, as of 4 October 2026, Design Space imports DXF on desktop only: on a phone or tablet, use the SVG. Only the DXF goes through the cut-readiness check.
Can I split colours for several vinyls?
Yes: tick « Une couche par couleur » for a layered SVG, or download a ZIP with one file per colour.
Sources for statements about other tools, checked on 4 October 2026: https://help.cricut.com/hc/en-us/articles/360009556313
More guides
- A Vectorizer.AI alternative that never asks you to upload the image
- A clean SVG for Cricut and Silhouette Cameo, from any image
- Logo to DXF for laser cutting: from PNG to a ready file
- Prepare a JPG for laser cutting and engraving
- Embroidery: prepare an image before digitizing
- Colour separation for screen printing, from an image